You Should Not Stop a Dog from Jumping Up on Counter

200 lb. Deaf Great Dane, George, & Oreo the Boston TerrierForget about stopping naughty behaviors.:) Instead, spend a little time with your dog and teach him a behavior that is incompatible with jumping up on counters such as to Go-To-Place.

If you focus on stopping behaviors, you are destined to make a full-time hobby out of training. For example- If you focus on stopping a dog from jumping on the counter and succeed, you really haven’t taught the dog what behavior is acceptable, or how he might behave politely and earn a reward.

The dog may abandon the counter jumping behavior only to start scratching the lower section of the cabinet under the countertop, start barking at the counter, or worse!

Go-To-Place is one of my favorite commands.

The “Place” is a very comfortable dog bed strategically placed in the kitchen where you can reinforce Go-To-Place behavior!

CLICK HERE for Go-to-Place instructions.

If you focus on teaching this one behavior, you won’t have to “break him” from jumping up, licking the dishes in the dishwasher, barking, object stealing or any number of behaviors that annoy you!

It’s much more efficient to teach dogs a few basic behaviors that are incompatible with many unwanted behaviors.

Happy Training!

Alan J Turner – How’s Bentley – Memphis TN

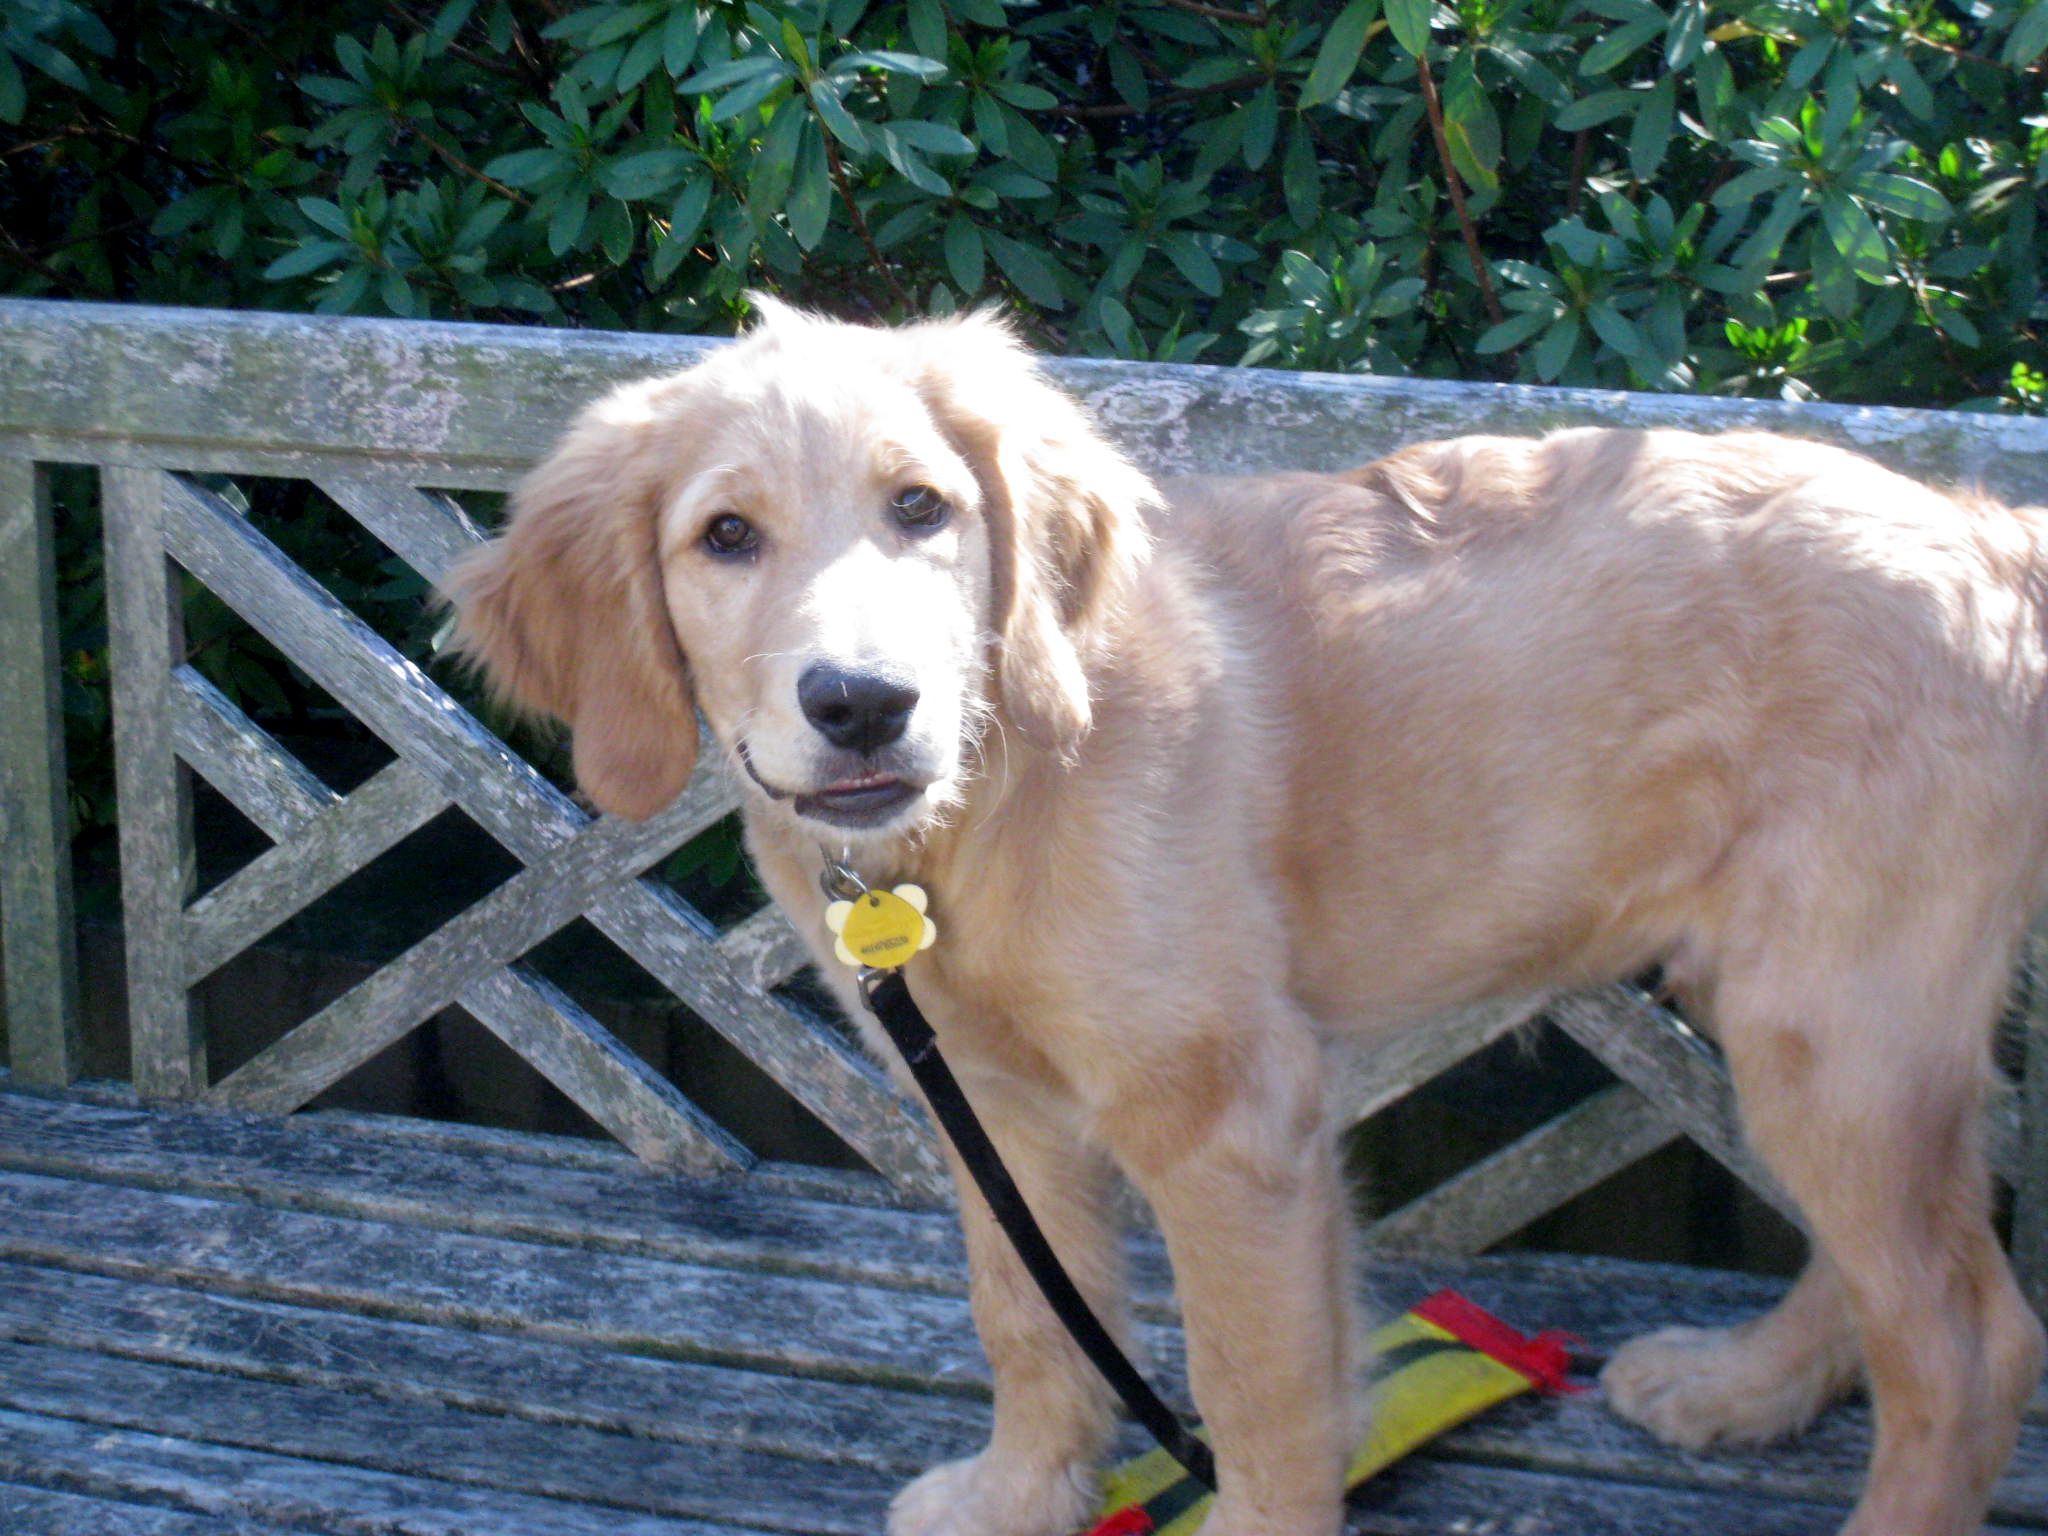
How to Teach Teach your Collierville TN Golden Retriever Dog or Puppy to Stay

JackGRStay

I use stay as a temporary command whenever I want Bentley to remain in one spot for a brief period.

This is useful if I drop or spill something and want to pick it up without being “mugged” or bothered by a curious dog.

When I ask Bentley to stay, I am saying, “Please remain in this location. I am going to leave or perform some task. I will come back to you and give you a reward for staying.”

When teaching stay, I never walk away and then call the dog to me. I always return to the dog and release him from the stay.

I teach stay in cycles. Each cycle I add a bit more movement or action. Once the dog learns the concept of stay, I add distractions. I might practice the same cycles with items in my hand, while waving my arms, clapping, dancing, etc.

Once the dog will stay for my distractions, I work with the dog and invite other people to play the role of distractions.

Before you begin training your dog, you’ll need to learn a bit about communication and motivation. Please visit the Dog Training Start Here Category. There you will learn about markers and rewards, two excellent topics for communicating and motivating! A prerequisite for “stay” is “Attention on Cue”. It doesn’t hurt if your dog already knows “Sit” too!


Cycle 1:

With the dog on a lead, I say “stay”, wait 1 second, and then push my open hand towards him – like a stop signal. Then I withdraw my hand.

I wait 2 seconds and then deliver the reward marker to release the dog, followed by  a food treat.

Cycle 2:

With the dog on a lead, I say “stay”, wait 1 second, and then push my open hand towards him – like a stop signal. Then I withdraw my hand.

I take a couple of steps with each foot, but do not move forward or backward. I march in place. I stop moving my feet.

I wait 2 seconds and then deliver the reward marker to release the dog, followed by  a food treat.

Cycle 3:

Same as cycle 2 except I might take a backward step and then return, or twist my upper body or shoulders just a bit.

I stop all body motions.

I wait 2 seconds and then deliver the reward marker to release the dog, followed by  a food treat.

Following Cycles:

Each cycle I get a bit more creative with my actions or movements. I always return to the dog, pause 2 seconds and then release him by delivering the marker.

Troubleshooting Stay

Many people tell their dogs to stay and immediately turn and walk away.  Naturally the dog follows. He has no clue what stay means. When this happens, people just repeat the sequence but say “Stay” a bit harsher, as if now the dog will understand.

The key to success is teaching in cycles. Add one small bit of motion during each cycle. If your dog does not stay, reduce the motion and try again.

It helps to have a particular goal in mind. For instance, teach your dog to stay when you drop a pencil and then pick it up. Each cycle will add a bit more of the motion involved in bending over and picking up an item.

Be patient, add small “pieces” of distractions and you will succeed!

If your dog follows you, herd him back to the beginning location, repeat the command and try again. This time use less motion. If your dog fails 2x in a row, make sure you succeed on the 3rd cycle. Perform an easy cycle with no distractions.

I never let my dog fail 3x in a row. THree failures in a row tell me that I am adding distractions above his current skill level.


Print This Post Print This Post


Happy Training!
Alan J Turner – How’s Bentley – Memphis TN
Private and Group Dog Obedience Training – Collierville TN

How to Teach your Dog or Puppy to Go To Place

bentley2

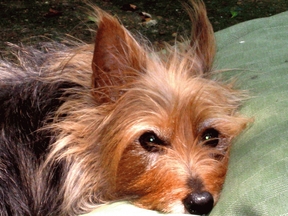
Go to Place is one of my favorite behaviors. I use it to keep Bentley, my AKC registered, Australian Terrier. from licking the dishes while I load the dishwasher, irritating my guests, pestering me during dinner, or any other times I want him to relax in one spot.

Before you begin training your dog, you’ll need to learn a bit about communication and motivation. Please visit the Dog Training Start Here Category. There you will learn about markers and rewards, two excellent topics for communicating and motivating! A prerequisite for “stay” is “Attention on Cue”. It doesn’t hurt if your dog already knows “Sit” too!

You can have more than one “place” for your dog. Bentley has 2 places in my 14X14 den! I have a crate pad placed on top of a ottoman, and he has a comfortable dog bed on the floor. I like to use a dog bed because it’s portable. I can place it in my car, on my back patio, in a hotel room or wherever my dog is welcome.

Here’s a good crate pad type of bed made of synthetic sheepskin. I like these because they are easy to wash and have a raised edge for the dog’s head. Hey, those guys like a pillow too!

Purchase an inexpensive bed, like this one, if your guy or girl is still a puppy.

The more expensive beds are for dogs that don’t treat the bed as a toy.

Before I teach any behavior, I always like to outline the steps necessary for success.

What are the individual behaviors that make up go-to-place? The dog must go to the place, then lie down and then stay. You could break it down into many smaller pieces.

For example, before the dog can go to the bed, he must first look towards it. Before he can lie on the bed when asked, he must know the command “down”. And, before he can stay on the bed for say, 15 minutes, he must be able to stay for 15 seconds.

There are many ways to teach go-to-place. Some require more thought than others. I have written a short description of how to teach your dog to go to place AND how to use Classical or Pavlovian Conditioning to condition your dog to like his or her place!


Go-To-Place

There are many ways to teach go-to-place. Some require more thought than others. I’ve found that luring is the easiest for most of my clients.

Feed the Birds

Before we start, I say, “Think about feeding pigeons in the park”. First you toss bird seed. Before long, pigeons find the food, land on that spot and start feeding. Then you toss more seed as they are feeding. Do this every day at noon.

After a few days, the sight of you approaching will attract the pigeons. They are already in place waiting for the food! Do the same with your dog and your dog’s bed.

Get your dog’s dinner out and instead of placing the bowl on the floor, place it next to you on the dinner table, coffee table or kitchen counter.  Place the dog bed in a spot a few feet away.  Toss a few pieces of dog food on the bed.

Do not speak to your dog during these steps.

While your dog is eating, toss a few more pieces to keep him busy looking for food.  As soon as he finishes and starts to walk off the bed, toss more food on the bed.

After he eats all the food on the bed, your dog will come towards you. Before he reaches you, toss a few more pieces over his head and onto the bed. Say nothing.

Repeat this sequence a few times. Wait until he starts to walk towards you and toss a few pieces over his head, onto the bed.

Soon your dog will be on the bed waiting for the food to rain down around him!

Add the Cue

After your dog catches on, speak your “go-to-place” cue when your dog is walking towards you and before you toss any food. Some of the commands I like are “Your Spot” and “Cozy Mat”.

You may need to help your dog by walking towards the bed and pointing to it or touching it with your hand.

When your dog gets all four feet on the bed, mark the instant (with your reward marker) and then toss a food treat. Walk a few feet away. If your dog follows, give the cue and move towards the bed. Mark the instant he gets on the bed and then toss a few pieces of food.

Once he is going-to- place on cue, ask him to “down”. Toss a few pieces of food after he goes down. Over several trials, increase the periods of time in-between tosses of food.

Condition Go-To-Place

Chewing helps dogs relax. At this stage you can add a special chew treat into the routine. After your dog is on his bed, give him a long lasting, high value, unique, chew treat.

Here’s the best treat for conditioning GO-To-Place. This free range chew will not stink up your house, nor will it stain your carpet, like the ones you find at local pet supply stores. CAUTION, This chew has the potential to turn Fluffy into Cujo! Read about Food related aggression by clicking anywhere in this sentence.

By pairing a special chew treat with the bed, you are taking advantage of classical or Pavlovian conditioning. The bed will elicit the same physiological calming response as chewing.

If he gets up from the bed, say nothing, just take the special treat away.

The sequencing is important. The dog must be on the bed before receiving the unique chew treat. The instant he gets off the bed, remove the treat.

By following this sequence, you are teaching your dog that lying on the bed predicts the delivery of the chew treat, and leaving the bed predicts the loss of the chew treat.

At first, you’ll always give your dog the unique treat once he is on his bed. After several sessions, you won’t always give the special chew treat. Sometimes you will, other times you won’t.

The act of lying on the bed will elicit the same calming effect as the chew treat, even when he does not have the treat.

A common mistake is to give the dog the special chew treat when he is not on the bed.

In order to maintain the association, the unique chew treat should only be delivered when the dog is on the bed.


Happy Training

Alan J Turner

Companion Animal Behavior Counselor & Trainer

Private and Group dog training services in Memphis TN

http://howsbentley.com


How to Teach your Dog to Drop or Give

Australia Terrier Bentley
Australian Terrier Bentley

Description:

The dog releases an item from his or her mouth.

Function:

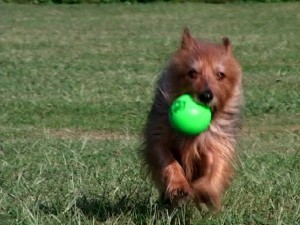
Final step in “Fetch”, or anytime you want the dog to release an item from his or her mouth. When teaching fetch, teach give or drop first, and the other steps like carrying the ball and finding the ball will naturally fall into place.

Before you begin training your dog, you’ll need to learn a bit about communication and motivation. Please visit the Dog Training Start Here Category. There you will learn about markers and rewards, two excellent topics for communicating and motivating! A prerequisite for “stay” is “Attention on Cue”. It doesn’t hurt if your dog already knows “Sit” too!

Considerations / Prerequisites:

Where do you want to dog to place the item? –  on the floor, on the table, in your lap, in your hand, in a basket, in another’s hand, in another room?  Do you want to dog to sit or lie down before the drop?

Some dogs quit “holding” items after 2 or 3 trials. You may need to teach “Hold”, “Sit”, “Place”, Down”, “Leave-It”, or, try again later.

The balance between the value of the item and the value of the treat is important.  If your dog is not dropping the item before you open your fist by trial 5, reconsider your item and treat choices. Begin practicing with a tennis ball or other fetch toy and use high value treats. When your dog “catches on”, use other items that do not belong to the dog and lesser value treats!

Your task is to mark (or click) the instant the dog releases the item. When following the instructions, be ready to click regardless of where in the sequence the dog releases the item. Many dogs will release before you finish the sequence of steps.

These instructions are a sort of guide. You can adapt the instructions to fit you and your dog. You may not need all the steps. The goal of this post is to teach a concept. The general concept is:

  1. Get the Behavior to Occur
  2. Mark the Instant it Occurs
  3. Deliver some sort of reward


Visual Cue: Handler holds his or her fist directly in front of dog’s nose. 

Audible Cue: Handler speaks, “Drop” or “Give”.

Teach Drop

Trial 1:

  • Say “Drop”, pause 1 second.
  • Present fist with treat (visual cue), pause 1 second.
  • Push your fist forward (palm down) until your fist is directly in front of the dog’s nose, pause 1 second.
  • Rotate your fist until it is palm up, pause 1 second.
  • Open fist to reveal treat. Mark the instant the dog releases the item. Give treat.
  • Pick up item and give it back to the dog.

Trial 2:

  • Say “Drop”, pause 2 seconds.
  • Present fist with treat (visual cue), pause 2 seconds.
  • Push your fist forward (palm down) until your fist is directly in front of the dog’s nose, pause 2 seconds.
  • Rotate your fist until it is palm up, pause 2 seconds.
  • Open fist to reveal treat. Mark the instant the dog releases the item. Give treat.
  • Pick up item and give it back to the dog.

Trial 3:

  • Say “Drop”, pause 3 seconds.
  • Present fist with treat (visual cue), pause 3 seconds.
  • Push your fist forward (palm down) until your fist is directly in front of the dog’s nose, pause 3 seconds.
  • Rotate your fist until it is palm up, pause 3 seconds.
  • Open fist to reveal treat. Mark the instant the dog releases the item. Give treat.
  • Pick up item and give it back to the dog.

Trial 4 -xx:

Follow the same sequence, but omit the treat in your fist on trials 4 and above.  Add 1 second to the sequence of pauses.  Most dogs learn this very quickly, and will drop when you say “drop” within 2-3 trials. That’s okay if your dog doesn’t, just add 1 second every new trial. For example, if you make it to Trial 7, you will have 7 second pauses in the trial.

Once your dog learns to Drop or Give on command, practice with items and toys of all shapes and sizes. You can discontinue the marker and food treat reward. The reward is you throwing the ball again!
Happy Training
Alan J Turner – How’s Bentley Memphis
Private Dog Trainer, Group Dog Obedience in Collierville and Downtown Memphis